Table Of Content

This allows the gardener to have stages of compost production. These systems just add two more rectangular additions to the original design using the outer walls of the original bin. You’ll have one structure with three composting compartments for staging your compost. The idea of this DIY log compost bin is basically the same with the game stack sticks.
Plastic Crate Composter
The front panel is split in two and the bottom portion lifts up so that you can scoop out the compost from the bottom of the pile when you’re ready to garden. If you have a chicken coop, like the EG Homestead, maybe close to that offset from the edible garden is the best spot. Clear out enough space for your 3-foot by 3-foot bins multiplied by the number of bays. Secondly, the bin must allow for good air flow to the pile, all while holding it together for good decomposition. Ample oxygen is a huge key for heating up and decomposing a pile. Unfortunately, if there is no room for air to enter, a pile will quickly stall.
gallon drum compost tumbler DIY
A compost pile can be located in either sun or shade, and there are pros and cons to each. A sunny location will help to warm the compost, speeding up decomposition nicely. Yet a lot of sun will also dry out the pile more readily, requiring it to be watered more often as needed. In the shade, the compost will stay nice and moist but will break down slower.
DIY Rotating Compost Barrel
For an even easier project, the pallet compost bin is a DIY variation of the design we’ve already laid out. If you have access to old pallets, they are a handy shortcut to creating your frame. You’ll follow all of the above instructions, but instead of cutting posts and boards, you can join pallets together at 90° angles to create your rectangular bin. If your pallets are in good shape, two nails or screws at each corner will create a secure fit, or you can use L-brackets for extra security. These simple instructions are quick and easy to build, so you can start composting right away. In fact, if there’s an out-of-the-way spot on your property, you could simply heap compostables into a big, messy pile.
Next, check that your pile is big enough to build the heat it needs to do its job well (at least 3 feet high). Essentially, this involves purposely layering different organic wastes, keeping everything moist, and turning the pile frequently. Nadia Hassani is a a Penn State Master Gardener with nearly 20 years of experience in landscaping, garden design, and vegetable and fruit gardening.
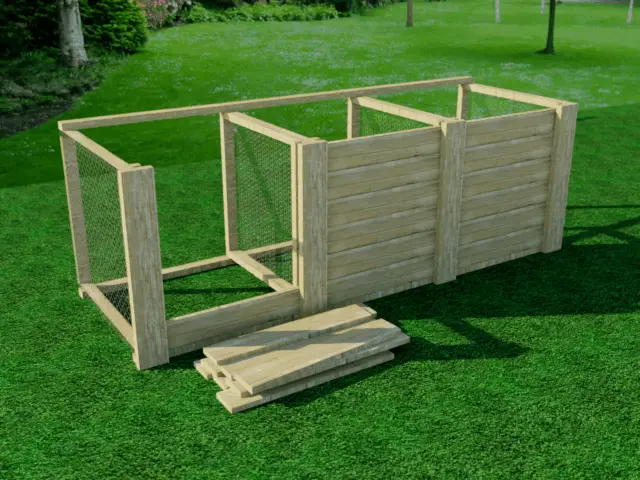
Step 5: Add Inner Walls
As a matter of fact, wine barrels can be very stylish in the garden most especially the real ones. Wine barrels can be best for indoor composting or at least under a roof to make it last longer. It's hard to tell through these pictures just how tough and stable this ultimate compost bin is but this is ready for tons of composting for many years to come. Find out how to make a DIY compost bin using pallets, in our step-by-step guide. We know from experience that stacked worm bins can get very heavy. It’s such a good idea to set this worm farm on a trolley, which makes it mobile and easy to move around, even in small spaces.
13 Stylish Compost Bins for Your Small Kitchen: 2018 The Strategist - New York Magazine
13 Stylish Compost Bins for Your Small Kitchen: 2018 The Strategist.
Posted: Fri, 05 Oct 2018 07:00:00 GMT [source]
Hot Composting
Next, begin a new pile of greens and browns in the first bin. In the meantime, the second pile will keep “cooking” down and shrinking in volume. Although they require a bit more space and upkeep than a single stationary bin, three bin composting is a great choice when you have a lot of green waste to dispose of. It will yield plenty of high quality humus as well, in a shorter amount of time.
Utilizing old tires as a compost bin is an ingenious way of recycling and providing continuous assistance to Mother Nature! I know there are lots of used tires lying around junkyards, so what are you waiting for? Collect a few and stack together 4 or more tires to create a simple compost bin. You can easily remove any side and transfer it from one place to another.
Composting can be practiced in backyards in a homemade or manufactured composting bin or simply an open pile (some cities require enclosed bins). Home composting is an effective and efficient way to dramatically reduce your waste stream at home, while doing your part to reduce your carbon footprint. Organic material sent to landfill creates methane, a powerful greenhouse gas that contributes to the negative impacts of our changing climate.
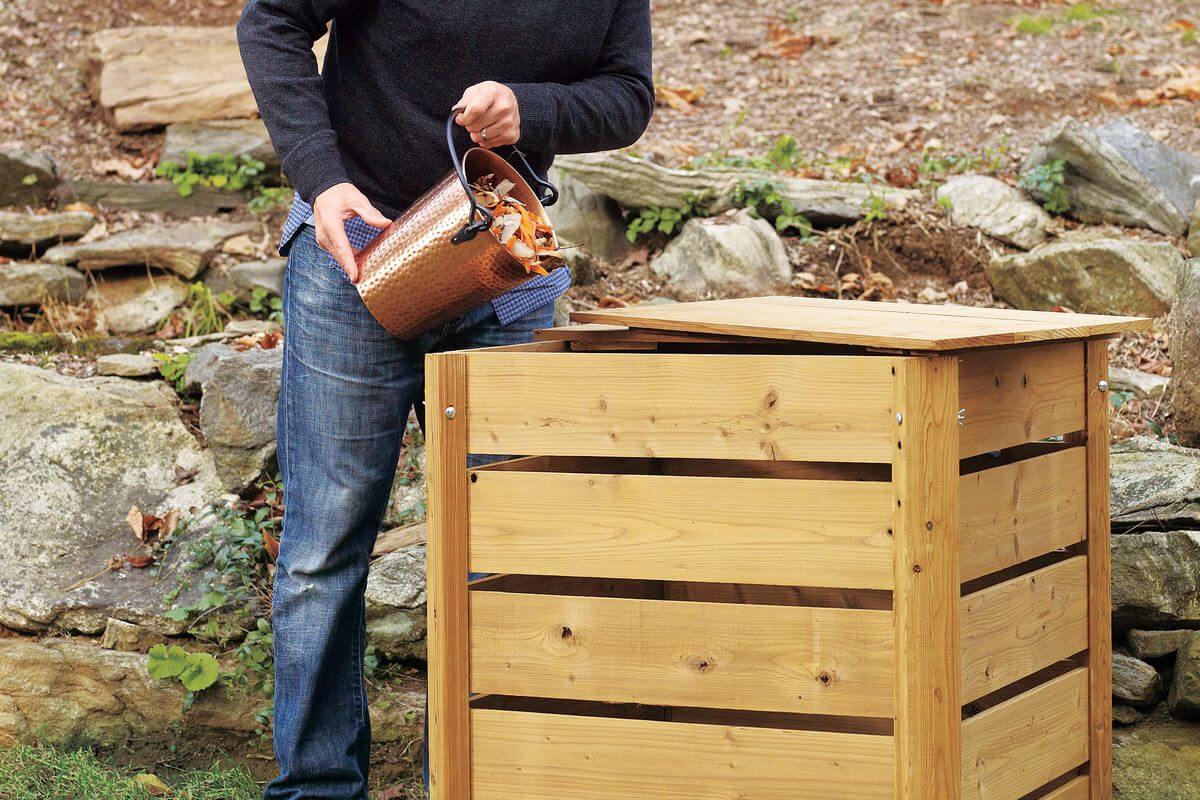
Here are the tools and supplies we used to build a compost bin, along with some alternative materials you could use too. See the printable “how-to” at the end of this post for a condensed supplies list and instructions. The ideal size for a fast working home compost pile is 3′ wide x 3′ high x 3′ deep.
Two separate containers allow for cyclical composting, but multiple chambers are optional. Ensure the single lid has adequate spacing between wood slats to capture a sufficient amount of water. After you have procured a compost bin and found a suitable location for it in your backyard, you are ready to start composting right away. Make sure to familiarize yourself with the dos and don’ts of what to add to a compost bin and add the proper balance of green and brown materials.
This is an ultimate easy garden project you can make out of your old fence pickets. This concrete blocks compost bin is uniquely created using concrete blocks. Depending on your needs you can easily make the necessary adjustment for changing seasons, added ventilation, or pest control. Unfortunately, it didn’t take long for us to outgrow those first little compost bins.
The method involves three to five bucket worm farms dug directly into the ground, each with a lid cover on top. Then attach the latch post safety hasps at the front of the lid to hold it closed. I attached the “post” part of the hasp to the lid itself, at the front, about 3″ in from the sides of the bin. Then, same as with the lower door, I lined up the hinged latch part of the hasp over the posts and attached the latch itself to the front of the bin. Attach the door frame to this 2×4 board using the two door hinges.